Orthodontic Treatment (Braces)
Applied Procedures:
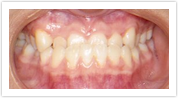
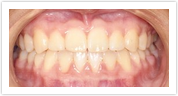
Orthodontic Treatment (Braces)
 |
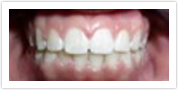 |
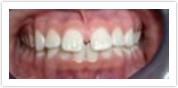
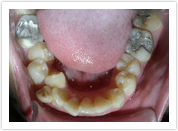
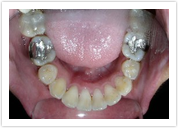
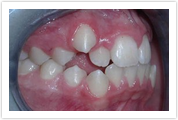
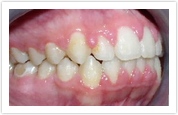
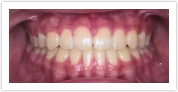
| Before Photo | After Photo |
 |
 |
| Before Photo | After Photo |
Applied Procedures:
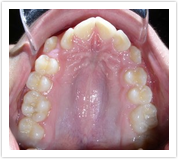
Orthodontic Treatment (Braces)
 |
 |
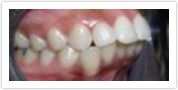
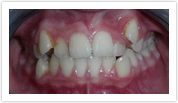
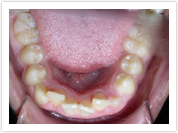
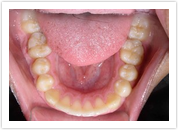
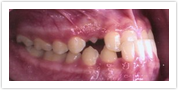
| Before Photo | After Photo |
"Eye tooth" not coming down
Applied Procedures:
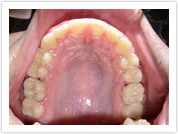
Orthodontic Treatment (Braces)
 |
 |
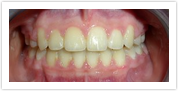
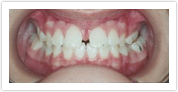
| Before Photo | After Photo |
"Eye tooth" not coming down--straightened without removing any teeth.


Applied Procedures:
Orthodontic Treatment (Braces)
 |
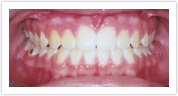 |
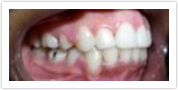
| Before Photo | After Photo |
Gap between upper incisors